Ah, what the hell. Missing a bit of work wouldn't hurt anyone. We would be waiting a day for that rescue attempt anyway. I pulled out my charts and sat him down. Class was in session.
The first important bit of information involves explaining the interface. In the bottom right we have our current mass and size values and their limits, along with any warnings we might have. The limits are based off of our infrastructure. Size and mass were dependent on our launch pad, while the number of parts is based off of the construction facility. Always make sure to take these numbers into account when designing your craft.
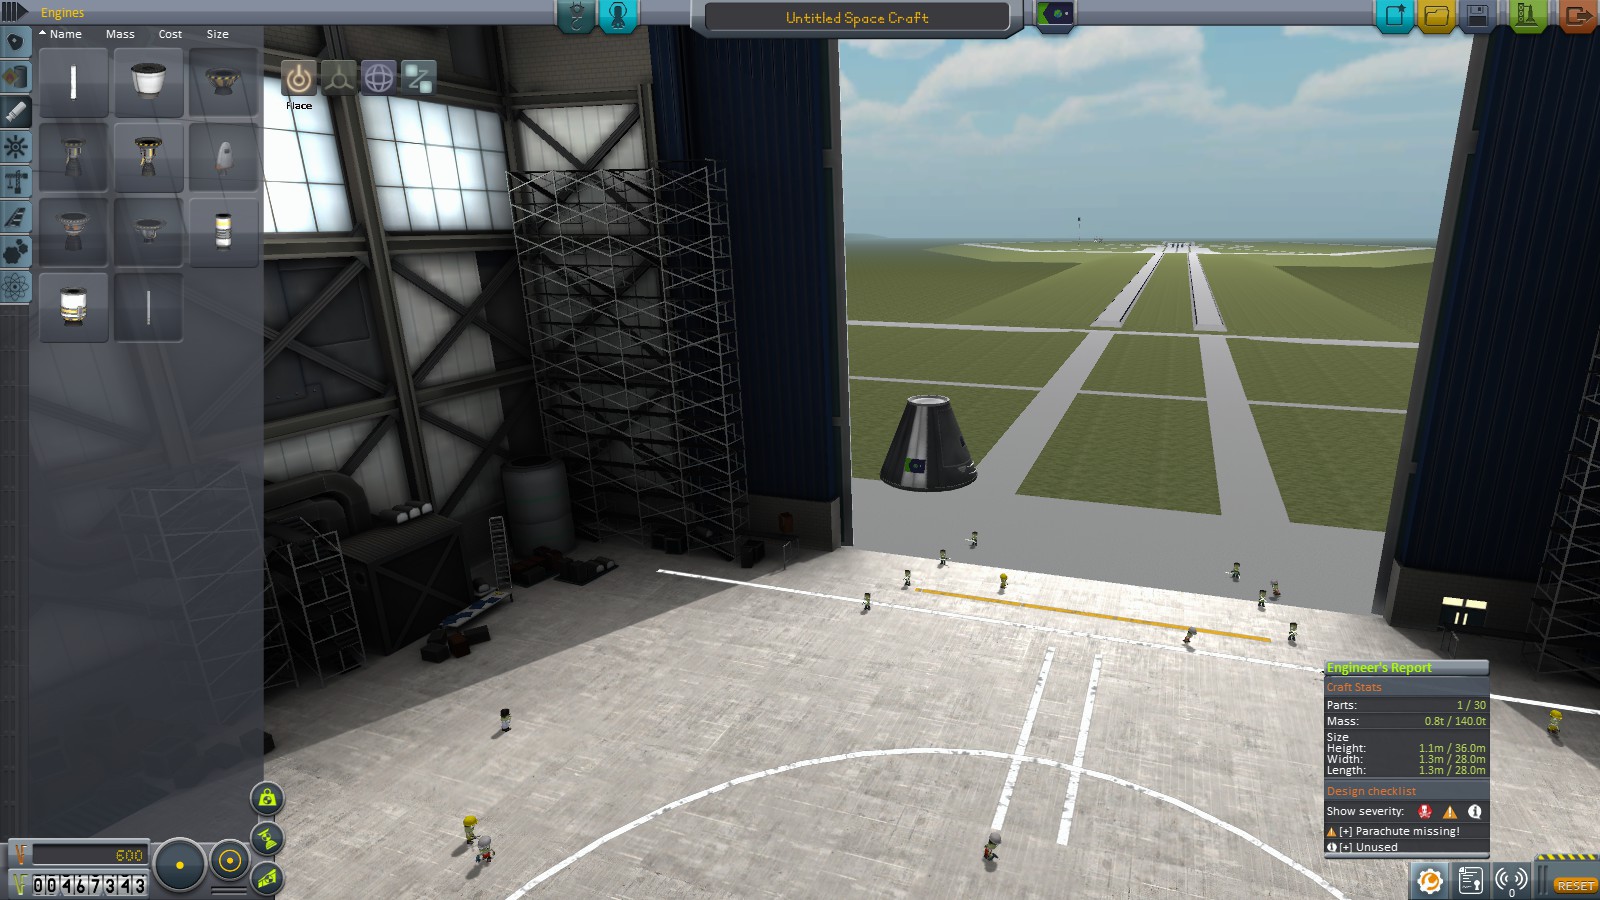
On the left hand side we have our parts list. Parts are separated by function. Additionally, the parts greyed out require an additional purchase cost for us to use. In the center is the craft we're currently constructing. On the bottom left is the cost of the rocket so far, along with buttons for center of lift, center of mass, and center of thrust. There is also a button for where objects are placed along the edges, and if you want more than one of the same object to be placed symmetrically around the area.
That explained, the next part is to figure out the design of your rocket. First step is to determine your mission: the reason for the craft to exist, sans any concern about actual rocket equipment. For this example, lets say our mission is a trip into low Munar orbit, carrying along Science! equipment and a full Kerbonaut group. Put that together, optimally placing everything within the rocket, rather than on the sides so as to reduce drag and worry about it burning off. Make sure to place the sturdiest piece of equipment on the bottom.
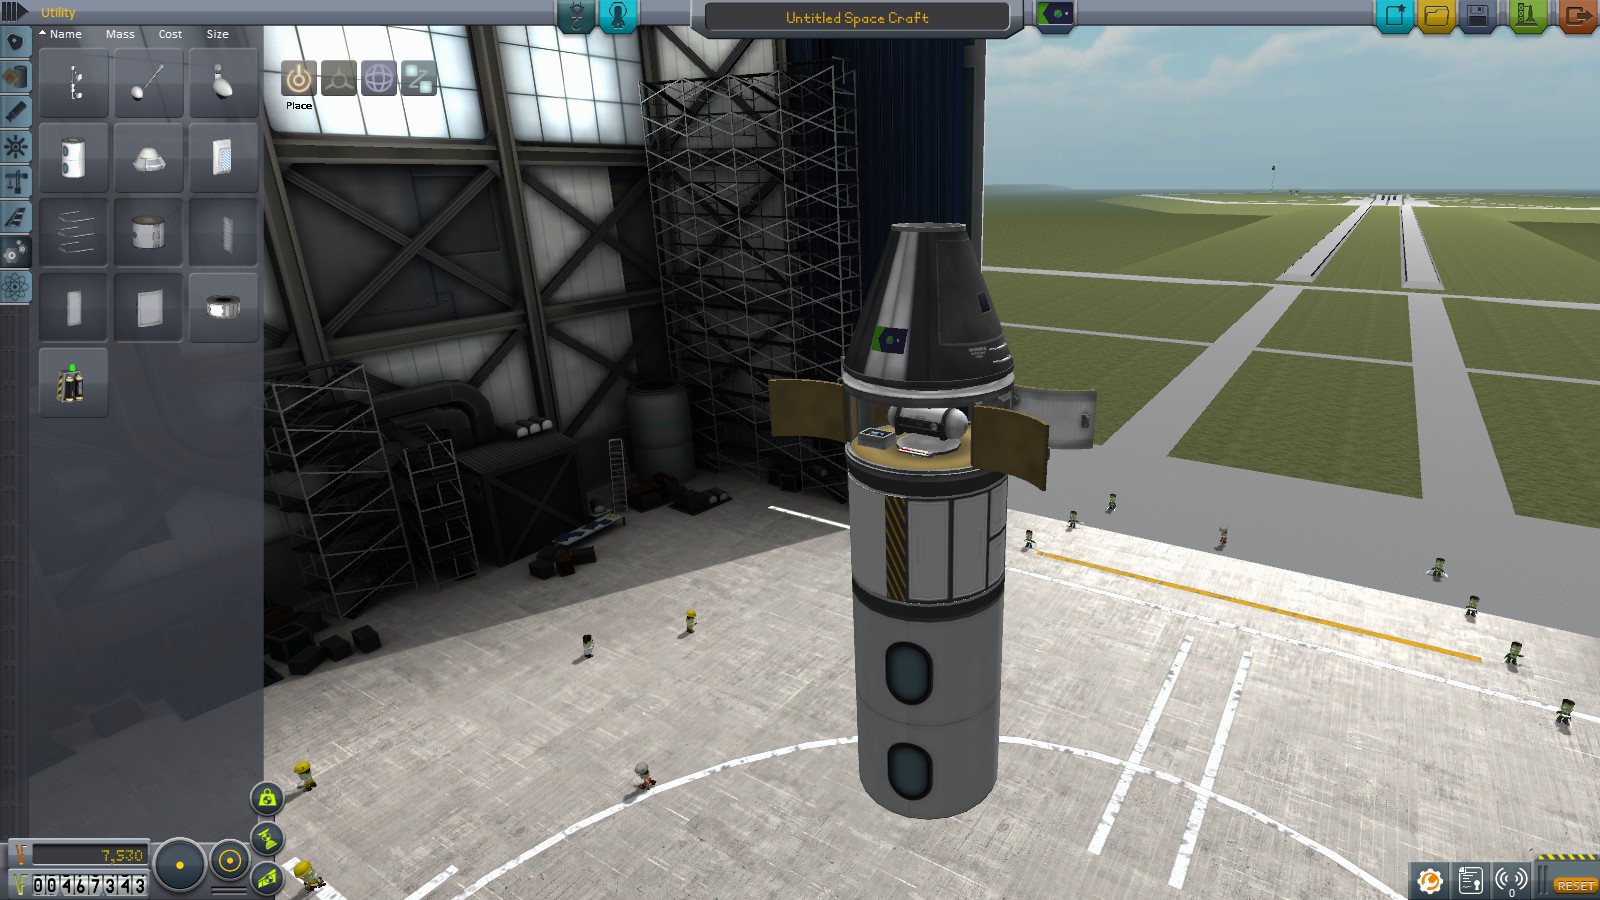
Next, put up any extra considerations that aren't "Rocket"such as batteries and communications. If we want communications, we'll need batteries to fuel them, so we add some of both as well. Keep in mind that the command pod comes with a small amount of energy storage and uses some energy to move the ship. Unless you add solar panels, the only way to get more energy is to run the liquid-fuel rockets. Don't run out of energy.
The next step involves noting down and adding up the dV requirements of your mission. If you're unsure of what I mean by dV and other rocket considerations, I've written up an explanation before on this matter here. This step does involve calculations, although you can often just wing it if you're familiar with the values.You can also calculate your own values, but handy guides like this map are always nice to use. It's easiest to start from the last one and work your way up. Add on an extra percentage for mishaps and pilot errors. 10-20% for most should be fine. Don't add on trips that we'll use aerobraking for, like the last leg back to Kerbin.
 |
| Chart from the linked page |
Using our chart, we're going to low Munar orbit and back, so that means our order goes (Counting backwards remember): 3400 (aerobraked), 860, 310 (cut both in half because we're only getting into a very ellipical orbit), 310, 860 (partially aerobraked), 3400 (We can roughly split this into 1400 m/s atmosphere and 2000 m/s orbit). Add them up for our total dV needed, along with the extra dV for pilot error, and we get 5,400 m/s of dV needed.
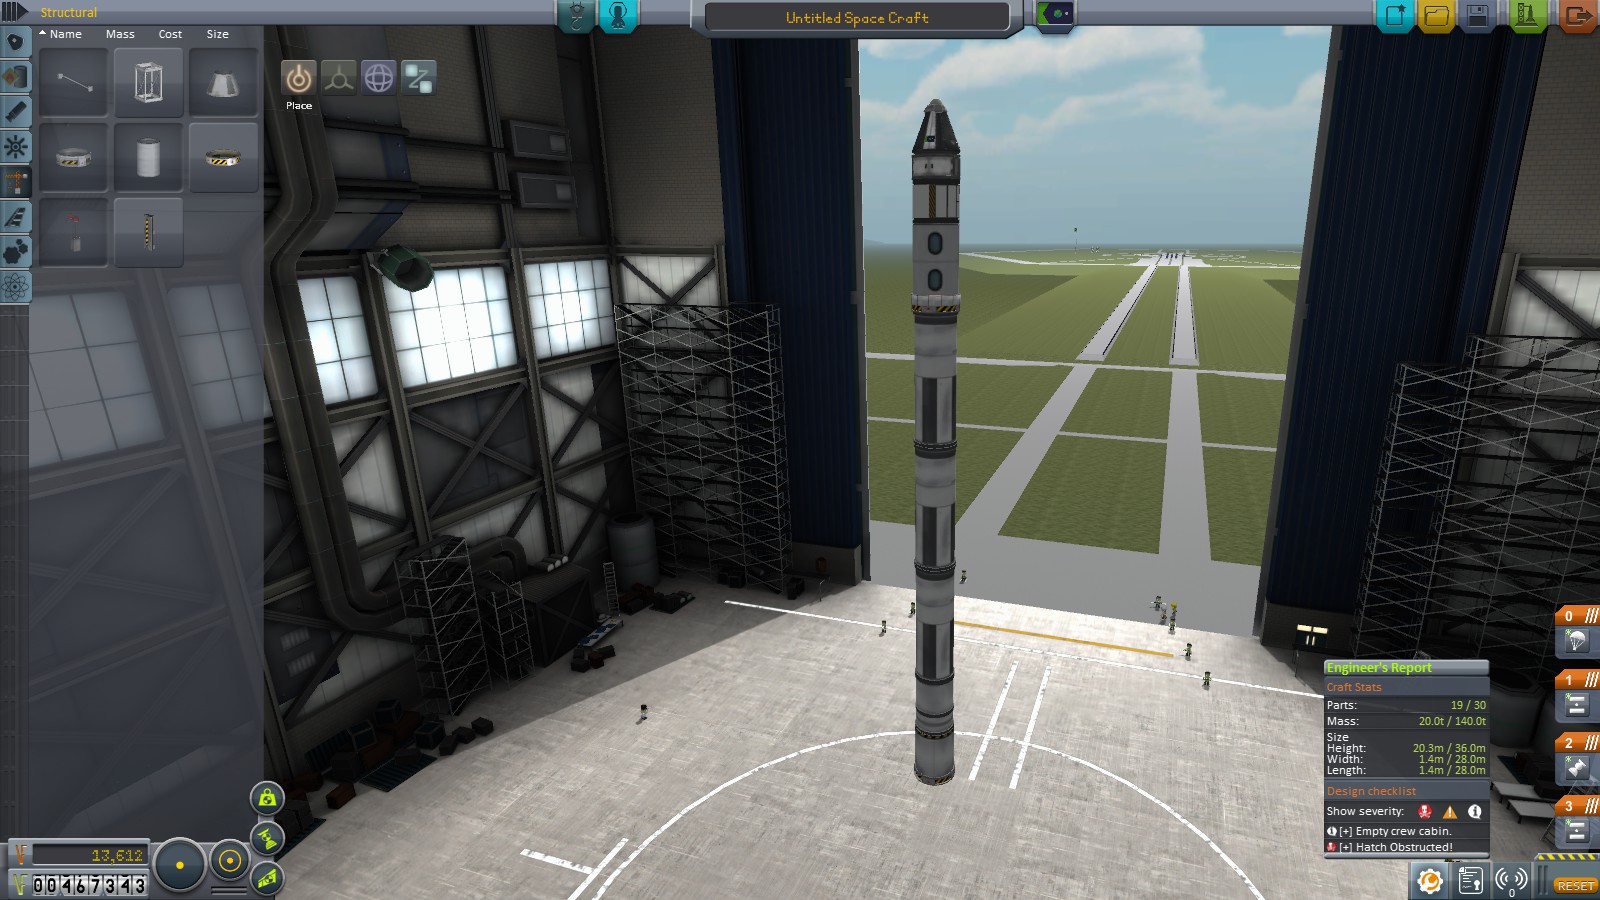
The next step is to decide where the stages go. Good times to split are when you have a lot of unneeded mass hanging on, or when conditions change and you want different engines. In our case, our rocket has three good stage points. Kerbal ground to Kerbal orbital height is a good one, because of massive changes in conditions. We don't have to worry about atmosphere, nor is thrust such a concern by that point, so it makes sense to ditch part of the craft there. The second good timing is on the last leg, where we're aerobraking down to Kerbal. We don't want to drag the leftover rocket section, because we can't properly shield it. Depending on the specific parts available to you, splitting up that middle section into two could probably be a good idea, but we can't because we're limited to 30 parts in our craft.
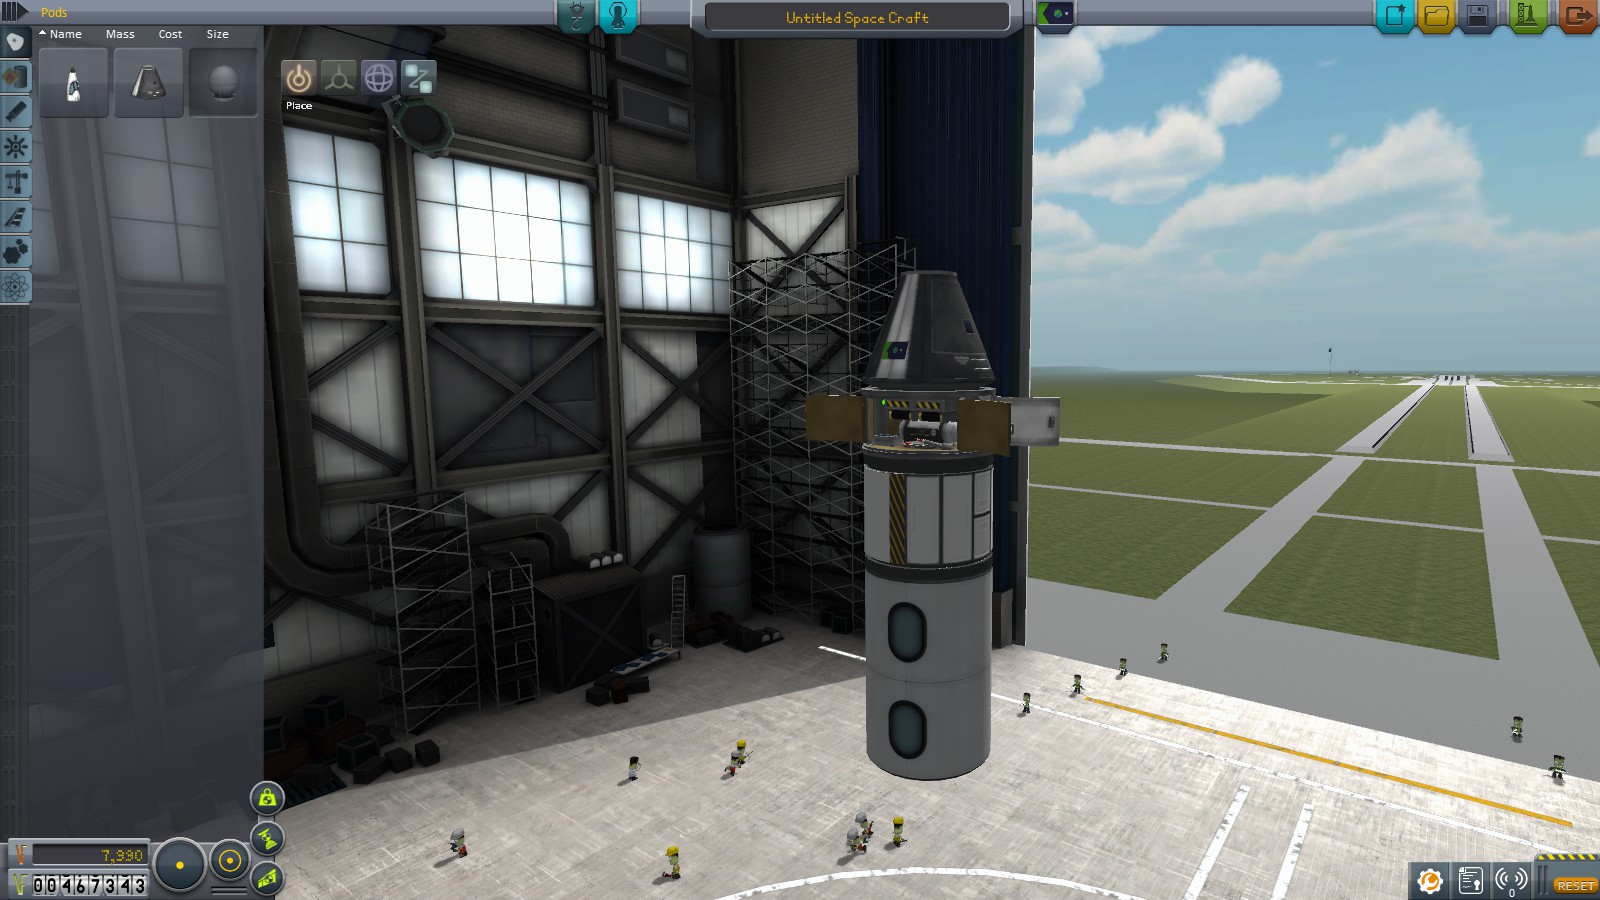
Now that we have our requirements, we work our way down and fill in the rockets. We start with our last stage, which contains the mission payload and which only aerobrakes. Aerobraking is straightforward for us, we just add a heat shield, along with a parachute for the last leg of the journey so we can land safely. There are various calculations you can do to make sure we have enough heat shield and parachutes for the trip down, but we'll skip those for this. Finally, add on a explosive to start the stage onto the bottom, and we have our last stage done. Mark the mass of this stage.
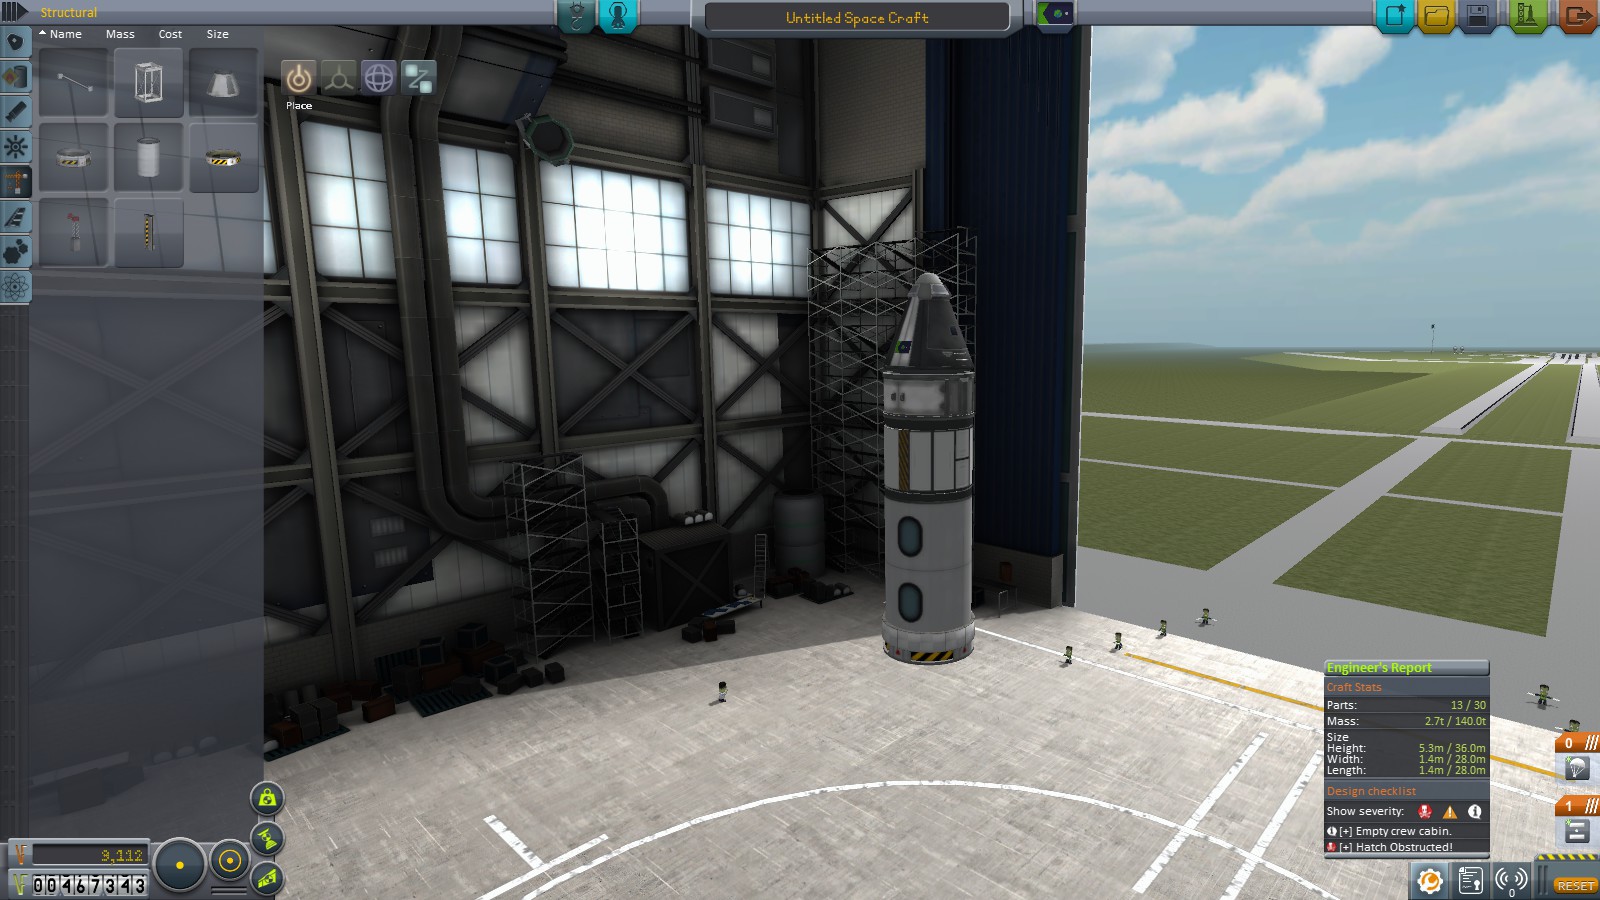
We move on to the next stage. This one has a rocket portion, so we want to select the engine for our tasks and add enough fuel. When choosing an engine, look for three things: Thrust, Isp, and size. We want an engine that's the right size for the rest of our rocket. Too big and we're wasting fuel lifting up the mass of the engine. Too small means not enough thrust, which is bad. We need enough thrust to do the job, which will vary on the job we're doing. For this stage, we're limited by getting into orbit quick enough before we fall back down, so we do want some thrust, but we're mostly concerned about the Isp.
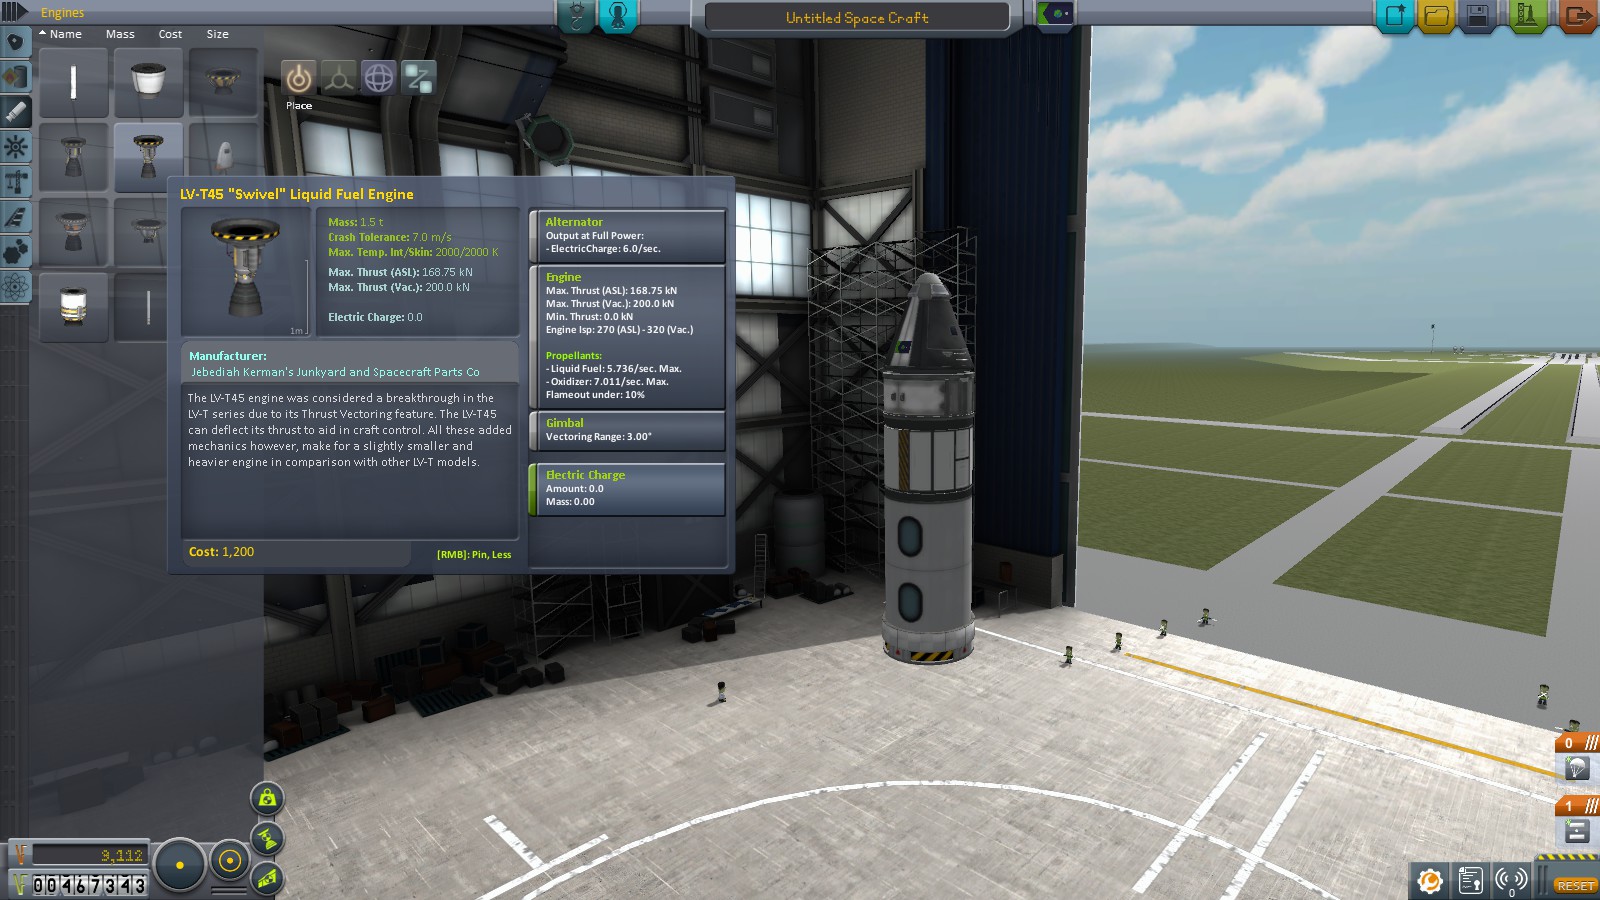
For now, we'll use this engine. It has good Isp, though not great, along with good thrust. It should work fine for our purposes. Next we add fuel, of which we need approximately 3,800 m/s worth of it. What we're looking to calculate is the mass ratio of our rocket, basically (mass of the rocket when full) / (mass of the rocket when empty of fuel). We find our required mass ratio by doing e^(dV/(Isp*9.81). Plugging in our numbers gets a result of ~3.3. ~30.3% of our mass is rocket, the rest is fuel. Assuming we have weightless fuel tanks, we'd need 9.7t of fuel. Sadly, they are not, and so we need 1/8th of our fuel mass in fuel tank mass. Effectively, we come out to needing 1.75 more tons of tank mass, giving us 14t of fuel, and requiring 13.7t of fuel. We've got only a bit of fuel remaining for additional pilot mishaps beyond the projected 10%.
Our final stage requires only ~1,540m/s of fuel, though it is in atmosphere where rockets tend to perform less well than in a vacuum. Additionally, we want to worry about thrust a lot in this section. Ideally, when you're in a thick atmosphere like that found on Kerbin's surface, you want about 2 g's of acceleration. More than that and your wasting fuel fighting air resistance. Less than that and you're wasting fuel fighting the planet's gravity. When you're looking for high thrust and big parts, your best bet is always the solid-fuel rocket boosters. Here's the one we'll use:

We calculate our mass ratio again, but this time using the atmosphere value, and come to a mass ratio of ~2.5. Four of these boosters should do the trick, but we'll add a fourth on just in case. Our rocket isn't as aerodynamic as I'd like, and it's always good to have extra fuel if we need it. Don't forget to make every part as aerodynamic as possible. Small rounded caps on the tops of our engines are quite literally worth their weight in black gold.

This leaves us with our first stage massing in at 38.3t. Even though it has relatively little dV in it, carrying the rest of the rocket is hard work.
Now, what you should do Wixit is evaluate different scenarios. See what happens when you have missions that require more dV. See what happens when you add stages, and see where the breakpoint is between having more stages compared to fewer. What would a single stage rocket to the Mun look like?
I've got to get back to work. Enjoy your homework. Those contracts won't finish themselves.
No comments:
Post a Comment